This is one of the predators HT has produced many years ago. To be honest, quality wise it is not as good as those being produced lately. However, I still think AVP is the coolest pred series HT has produced. It just needs some enhancement and correction here and there and it will be shining. However, after all those years, I still have not seen anyone has done much to this figure. It seems most people are just happy with how it is out of the box. I would like to show what the true potential is with this figure.

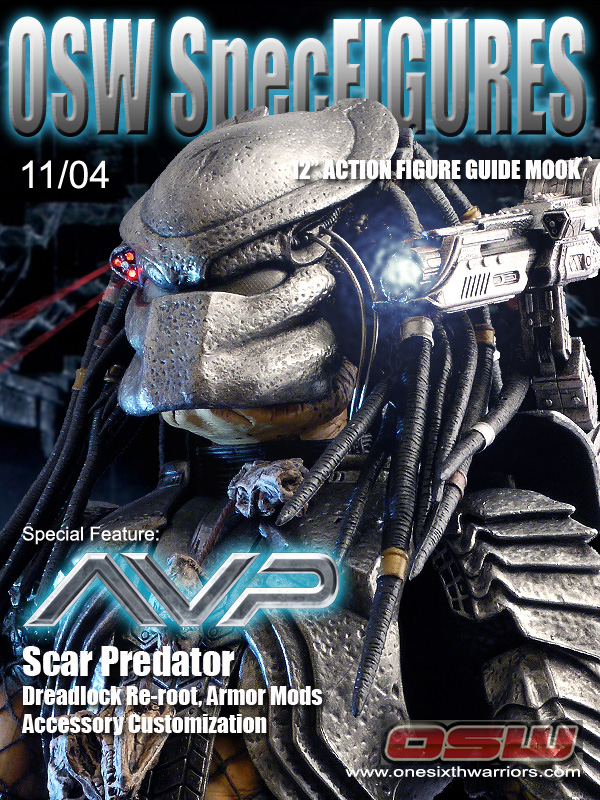
Among the 3 preds, Scar is my favorite. It is also the one surviving to the last in the movie.

Photoshop CG


The Figure
I was lucky enough to buy this figure when it was first released 6 years ago. Otherwise I will never be able to afford it now. This figure is now selling at USD600~700 on ebay. The following shows the side by side comparison between the original HT Scar with my custom version. The modifications are:
1) The dreadlocks were re-rooted
2) The mask shape was modified
3) Target homing laser light was added
4) Eyes re-painted (on the head sculpt behind the mask)
5) Neck joint was modified to improve tilting angle
6) Arm armor positions were modified
7) Thigh armors were extended
8) Abdomen armor was extended
9) Long wrist blades were customized
10) Overall re-paint and weathering

Mask Customization
The original HT mask lacks the strong character of Scar. I adjusted the shape of the eye part and the cheeks to make it look more “lethal”. The newer preds all come with LED light but it was missed from this early one. I added it.
1) Original HT mask
2) Epoxy putty was used to modify the shape of mask. A red LED was added as the laser.
3) Compared to the original, the modified mask looks closer to the shape in the movie
4~5) Different angles of the modified mask
6) 1:1 movie prop as a reference
7) 0.8mm drill was used to make holes for the laser
8) Dremel to make space for the LED. The LED was firstly covered with epoxy putty, and secondly with thick black paint layers to avoid “light leakage”.
9) The button battery was hidden inside the shoulder cannon base on the back.

Head Customization
As most people do, I also hate the “big head look”. Yes, the scale of the head is slightly bigger than it should be but I think the problem is more with the inflexible dreadlocks. To improve his, I cut all dreadlocks and glue every single one back. Some people remove the wires inside the dreadlocks. I didn’t do that as I want them to be posable. The eyes were re-painted to make the head comes alive. At last I applied some subtle shadings and highlights to make the head features stand out more.
1) Original HT head, the dreadlocks are just making the head look “big”
2) Close-up of the eyes after re-paint. The “T-mark” on the forehead was engraved.
3) The back view of the head after the dreadlocks were re-rooted.
4~6) Different angles showing the deadlocks hanging down more naturally
7) There are more than 50 dreadlocks cut off from the head
8~9) The dreadlocks were re-rooted one by one back to the head with an angle hanging down. The glue used was VersaChem Plastic Welder. It is a very strong glue especially effective for plastic.

Wrist Blades Customization
The original figure offers 2 level of extension for the wrist blades but still cannot extend as long as how it looks in the movie. I have acquired an extra gauntlet and attached 2 custom made extra long wrist blades. It took me 4 hours to file 2 pieces of styrene sheet into the blades. I am happy with the result as it boosted the “Threatening” of this pred figure.
1~3) 3 levels of extension of the wrist blades. The long blades were glued on another gauntlet (so I have 2 right gauntlets)
4) The long blades were made from styrene sheets taped together
5) The blades were half way done (that took me 4 hours to finish including painting)
6) The reference pictures

Armor Customization
HT did not make the armor size correctly. According to the reference material, the arm armors should cover the whole biceps. The abdomen armor should hang down to the level of the knees. The thigh armors should be bigger and longer. (The thigh armor modifications are not movie accurate. I may re-visit this in the future to correct)
1) The armors to be customized are marked in red.
2) Modified armors give a more natural proportion to the whole figure.
3) The original abdomen armor was cut into pieces
4) Each abdomen armor pieces were extended using epoxy putty. The thigh armors extended as well.
5) The linkage between the arm armors were pro-longed to better cover the arms and the shoulders look more natural
6) The thigh armors were extended by using cut-out portion from another armor (I bought an extra pair of thigh armors)
7) The abdomen armor with flexible joints


