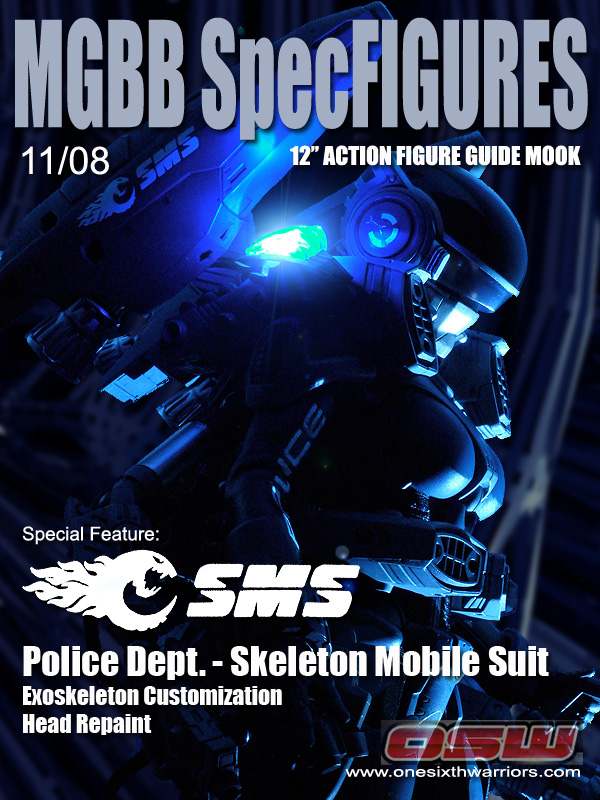
Cassandra – a fictional character created by myself. She is a law enforcement officer in the future. The division Cassandra works in is the Urban Situation Response Team. Her team is providing high attitude patrol over the city, rapid reaction to any special situations and counter terrorist attack. Skeleton Mobile Suit (SMS) is the special equipment used by the team. It has a pair of rocket propellers to offer the team high mobility in the sky and land. It also has power limbs for carrying heavy devices.
I have been thinking about doing a exoskeleton figure for quite some time. This project began when I came across the Revoltech assemble model set. The set offers unlimited ways to build robotic model that has a futuristic style. It took me over 2 years to complete this project. A lot of time has been spent on exploring different ways to assemble the parts and to resolve some of the technical difficulties, which will be explained later.
In terms of design, I am under a lot of influence from a number of Japanese anime and game like Busou Shinki, Vexille, Bubblegum Crisis and Intron Depot by Shirow Masamune. For the mechanics I also referenced to the exoskeleton suit design in real life like HAL, HULC and Sarcos. In my design, I tried to seek a balance between the practicality and the cool-looking factor.
Photoshop CGs
The team patrolling over the highway

Night patrol over the city

Highway chase to intercept a terrorist suspect

Riot control (the background image is in fact the London riot)

Cassandra is taking off from the roof top on an urgent dispatch call

On a aircraft, Cassandra is putting on her Skeleton Mobile Suit

No one dares to mess around with this officer

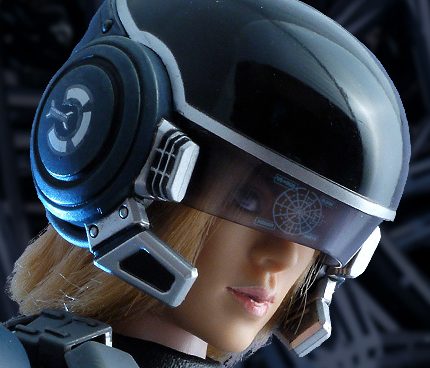
Helmet mounted display

The Figure
Head – Takara
Body – Takara CG2.0
Tight Suit – Takara Cool Girl Dissectionz
Chest Armor – Takara CG13
Should Armor – Custom
Waist Harness – Custom
Thigh & Shin Armors – Custom
Gauntlet – Takara CG13
Boots – Takara CG13 + Custom
Helmet – Takara CG13
Handgun – Takara CG13
Exoskeleton – Custom


Work In Progress
The material for customization is sourced from:
1) Revoltech model sets – This is like Lego. You can put building parts in any formation. The joints are universal type that offer some good articulation. I must have bought 7 sets of these to get all the parts I need.
2) Macross Fighter Model Kit – The rocket propellers are coming from this kit. I also used some of the parts for the thigh & shin armors.
3) Gundam Custom Parts – Details are added here and there using these parts.
4) Masked Rider Vinyl Figure – The shoulder parts were cut to make the shoulder armors.

1) The police light strobes are actually Roveltech parts. They are modified to fit a blue light LED.
2) A test shot of the light.
3) The button battery and switch are hidden inside the “Maneuver Processor”. This is actually a shoulder rocket weapon from Armored Core model kit.
4) Another test shot

1) Power cables made from Gundam custom parts.
2) The cable holders are made from copper stripe bended into shape.
3) The skeleton legs are being assembled
4) The skeleton arm is being painted up

1) This is a line up of all the armor parts before painting. Velcro tapes are added for some armors.
2) The “POLICE” sign is hand painted on the tight suit. To make it easier to align the characters straight and with the right sizes,I put up a mock up on a paper card next to the area that I wanted to paint. The pen is an oil base marker.
3) Revoltech parts are added to the back of the boots. These are also the parts for connecting the skeleton framework. Detailed Gundam custom parts were added.
4) Some minor putty work on the rocket propellers. Rotation joints are added to propellers for fitting on to the skeleton body.

As I said this project has taken more than 2 years to complete. I have recorded the evolution of the design as time goes:
1) The base design of the exoskeleton using Revoltech parts
2) Some preliminary body armor design
3) Body armor design was pretty much finalized
4) The final painted up figure

Head Repaint
I choose to use this head mainly due to the short blonde hair giving a nice color contrast to the blue tone armors. I repainted the eyes to look upward, plus the sharp eyebrows that offers a more serious look. Overall I am happy with the righteous look that fits the police character.

This is showing the step by step process to repaint the head. My personal tips are: 1) add shading to the top of the eye balls to make them stand out, 2) use fine brush to draw each hair of the eyebrows instead of one big solid line, 3) take lots of photo to check the outcome through out the process. Minor mistakes can be corrected at early stage.
