Since the last RE6 project building Chris Redfield, I have been planning to do his sidekick – Piers Nivans. The biggest challenges were to find a suitable head in the market as well as obtaining 2 sets of identical accessories to build the 2 versions of Piers. At the end I did not find the perfect head and I did not find 2 complete sets of accessories. But I tried my best to build the figures anyway.
(I know the head doesn’t really look like Piers. Unfortunately I do not have the skill to re-sculpt the head. Also the design of the infected arm is not faithful to the game setting. It is more based on the comic picture)
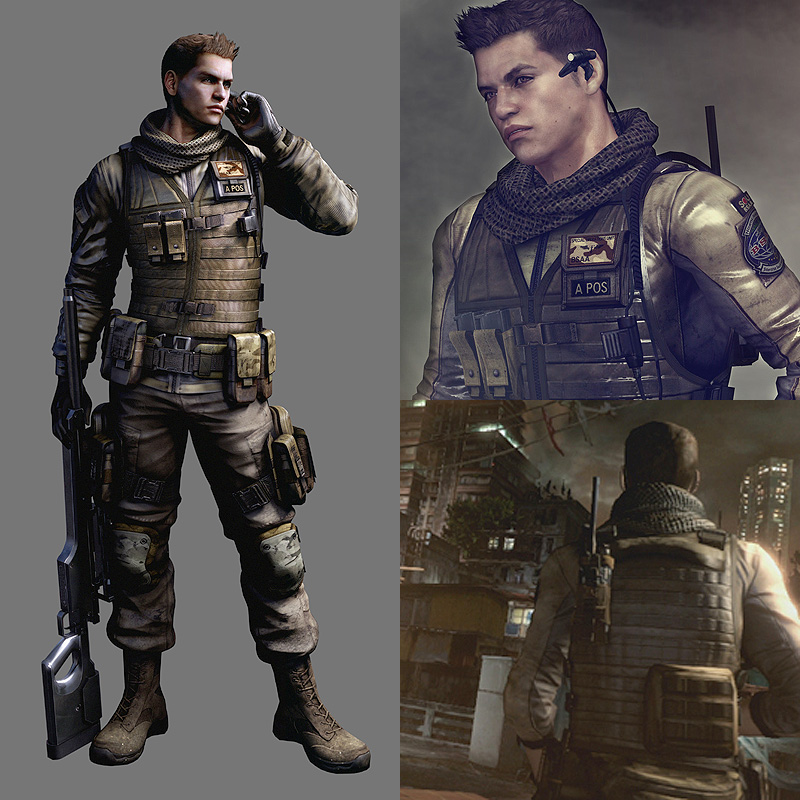
The figures are based on both the game setting and also other reference images found from the web.
Photoshop CG’s
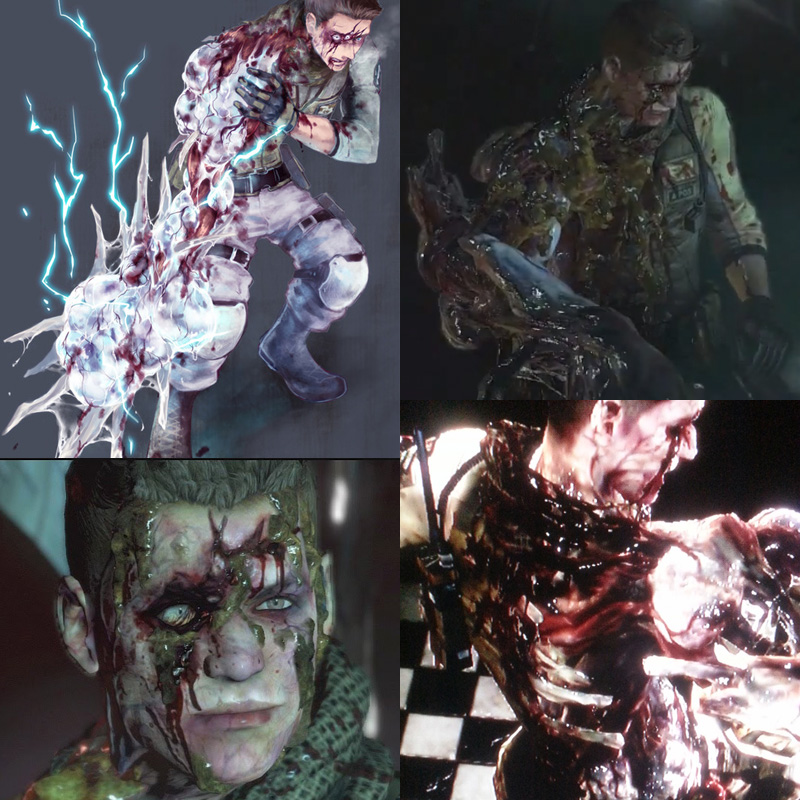
The CG’s are based on the game storyline.
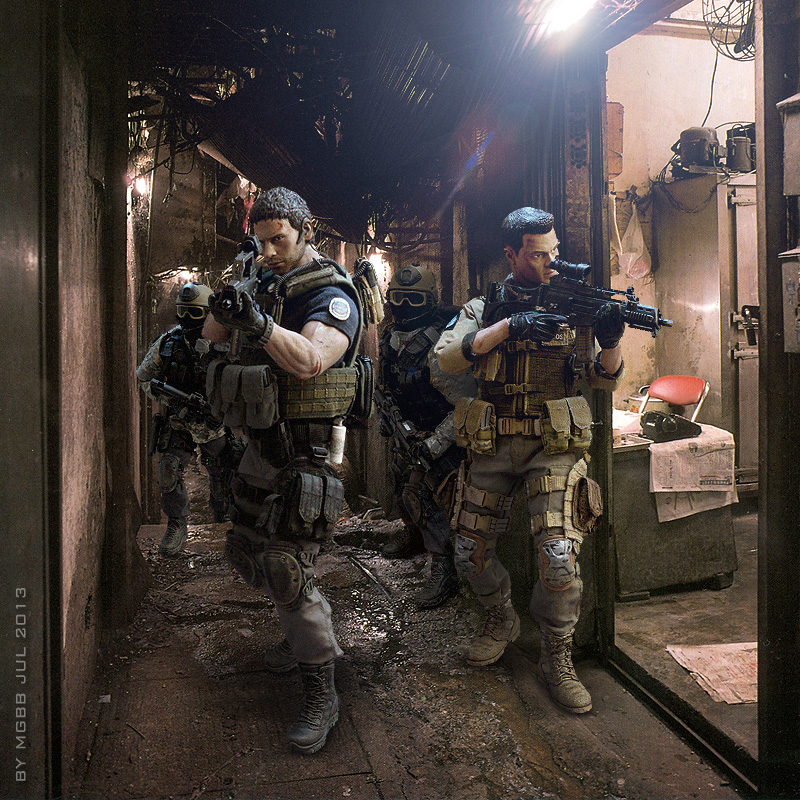
The BSAA team is arriving Lanshiang
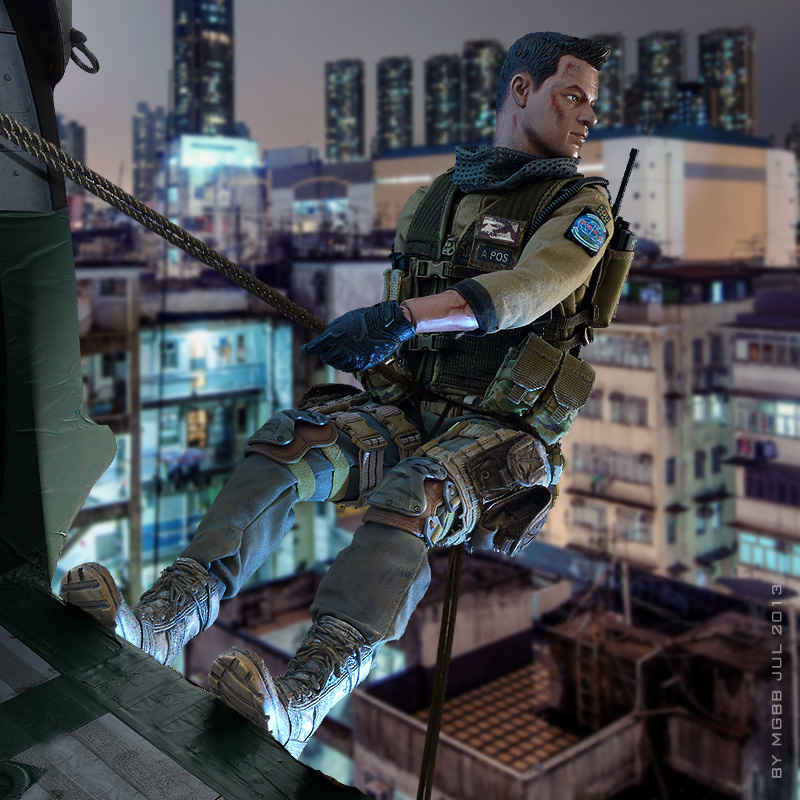
Chris and Piers are leading a BSAA team to search for BOW in the Walled Kowloon City
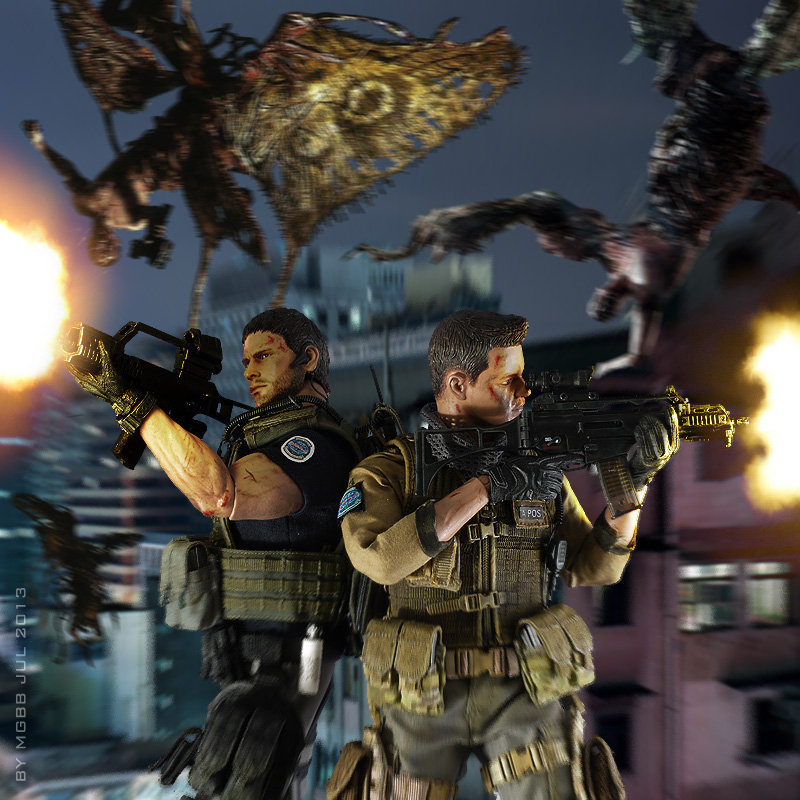
Fighting mutated J’avos at the roof top
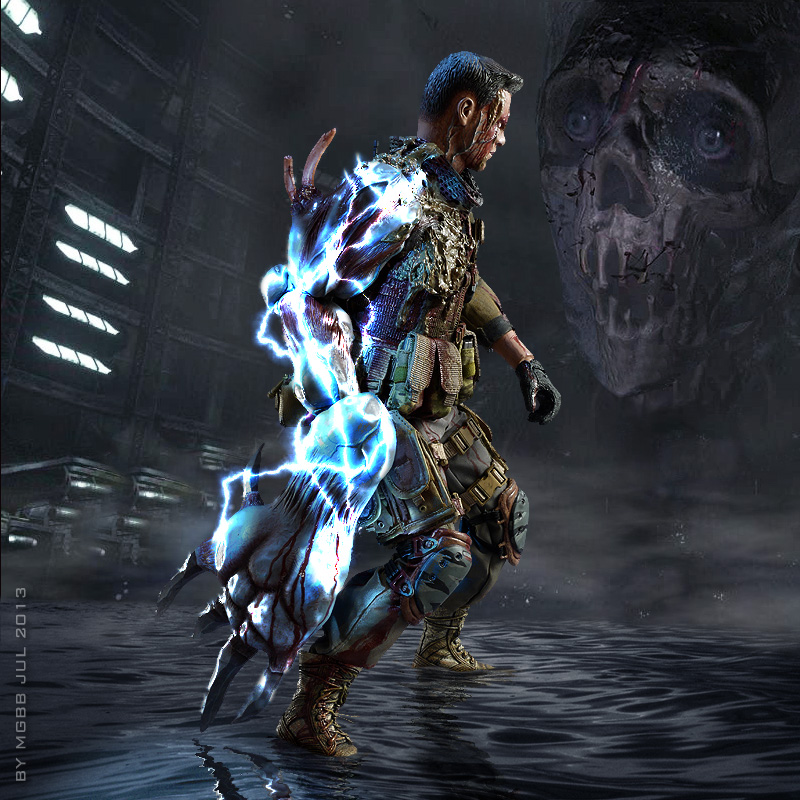
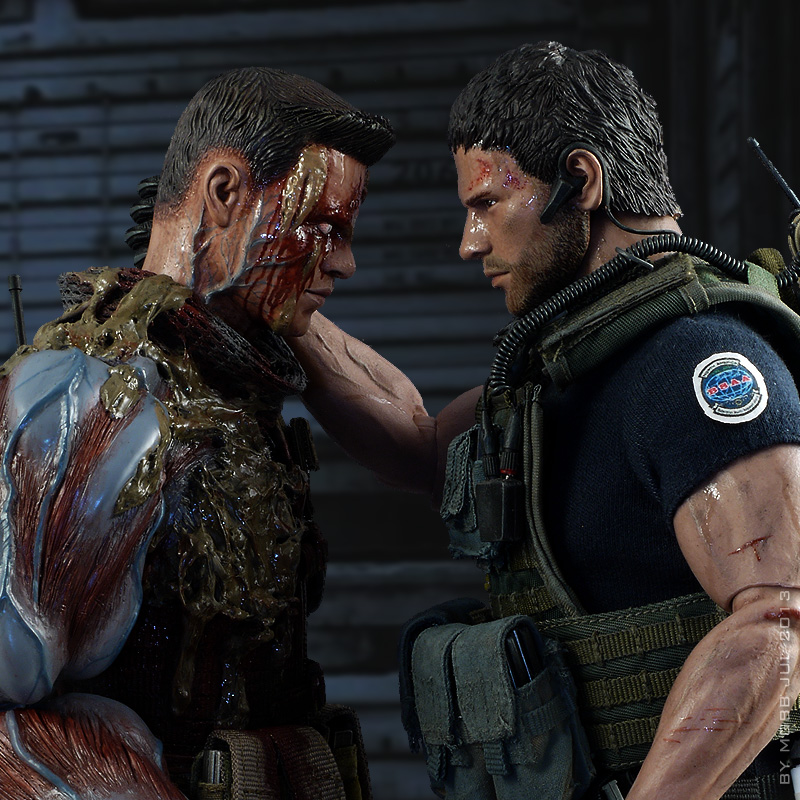
C-virus mutated Piers fighting Haos, the final boss
Piers: “I did it for BSAA…” Chris: “We are both getting outta here, all right?”
Heading to the escape pod chamber

Piers sends Chris away in the escape pod
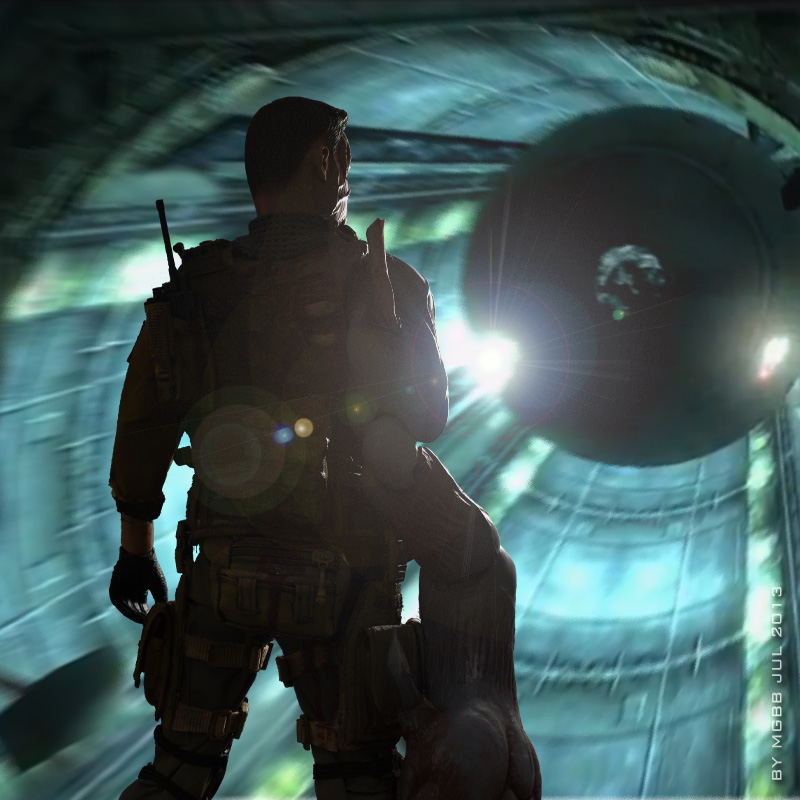
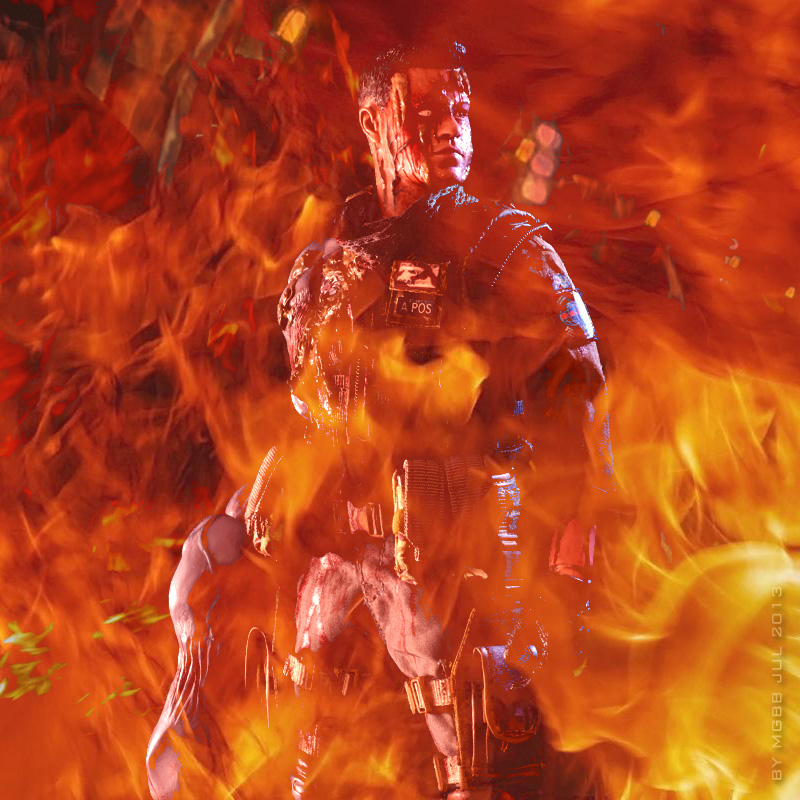
Piers sacrifices himself at the end – he is a tragedy hero!
The Figures
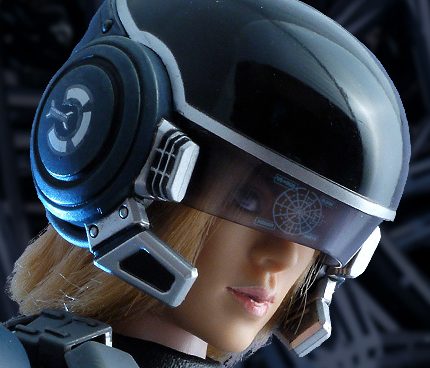
Normal Version
Head: ACI Matt Damon, hair style modified
Body: HT TTM2
Shirt: Unknown make, trimmed to fit body better
Vest: HT Barney Ross
Pants: GML SDU
Knee Pads: Soldier Story Repainted
Boots: BBI
Accessories: Unknown make, some are repainted
M200 Sniper Riffle: Zytoys


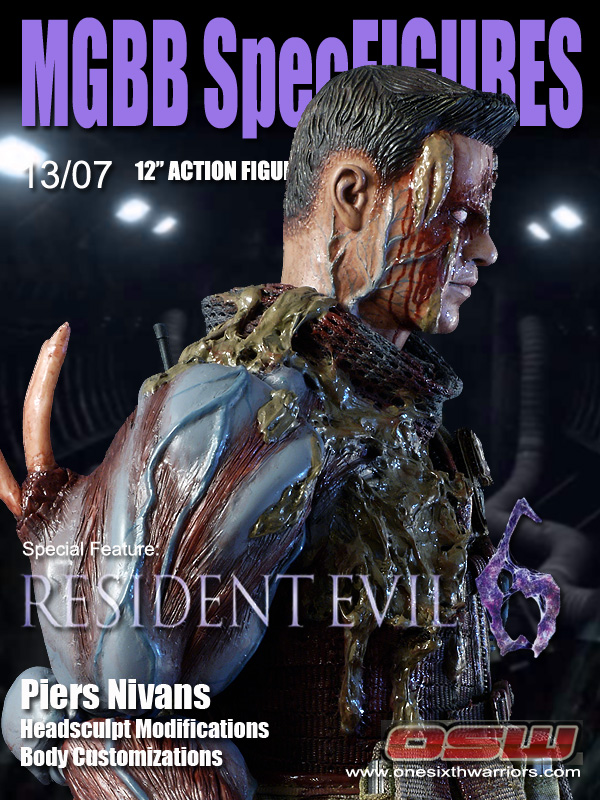
C-Virus Infected Version
Head: ACI Matt Damon, hair and wounds customized
Body: HT TTM2, infected arm customized
Shirt: Unknown make, trimmed to fit body better, repainted
Vest: HT Barney Ross, customized
Pants: GML SDU
Knee Pads: HT Repainted
Boots: BBI
Accessories: Unknown make, some are customized & repainted


Work In Progress
1. Original head (looks like young Matt Damon)
2. Sculpted hair with Sculpey
3&4. Sculpted details of the infected version head with Sculpey
5. Painted the flesh base
6. Painted the eyes and lips
7. Use plastic and epoxy putty to sculpt the ear piece
8&9. Painted the flesh base for the infected head

1. Customizing the base for the infected arm. Foam is used to reduce weight
2. Dissolve glue into water. Soak scarf into the liquid
3. Scarf left in open area to get dry
4&5. Customizing drop pouch
6. pour plaster inside the head to make it more rigid, otherwise the sculpey may fall off
7. repainted knee pads
8. customized drop pouches

1. Design sketch for planning the details sculpting
2. Sculpting the arm muscle texture
3. Use brass robs as base for sculpting exposing bones
4. Brass robs as base for sculpting the claws
5. Claw sculpting
6. A close up of the back with exposing rib bones
7. Eproxy glue to sculpt the “melting” effect

This is by far the biggest sculpting work I have ever done. The arm has 4 limited articulation points. The transformation, from left to right below:
1. Eproxy putty to form the base
2. Sculpey to fine tune the shape
3. Sculpey to produce the muscle and vein details


